Add Campaign
The Campaign section highlights the mission, goals, and social impact of every initiative you champion. It allows you to share powerful stories, showcase achievements, and inspire participation through meaningful campaign. Clear presentation of your campaign’s purpose and results strengthens credibility, encourages community engagement, and drives collective action.
WordPress Dashboard > Campaign> Add New Campaign
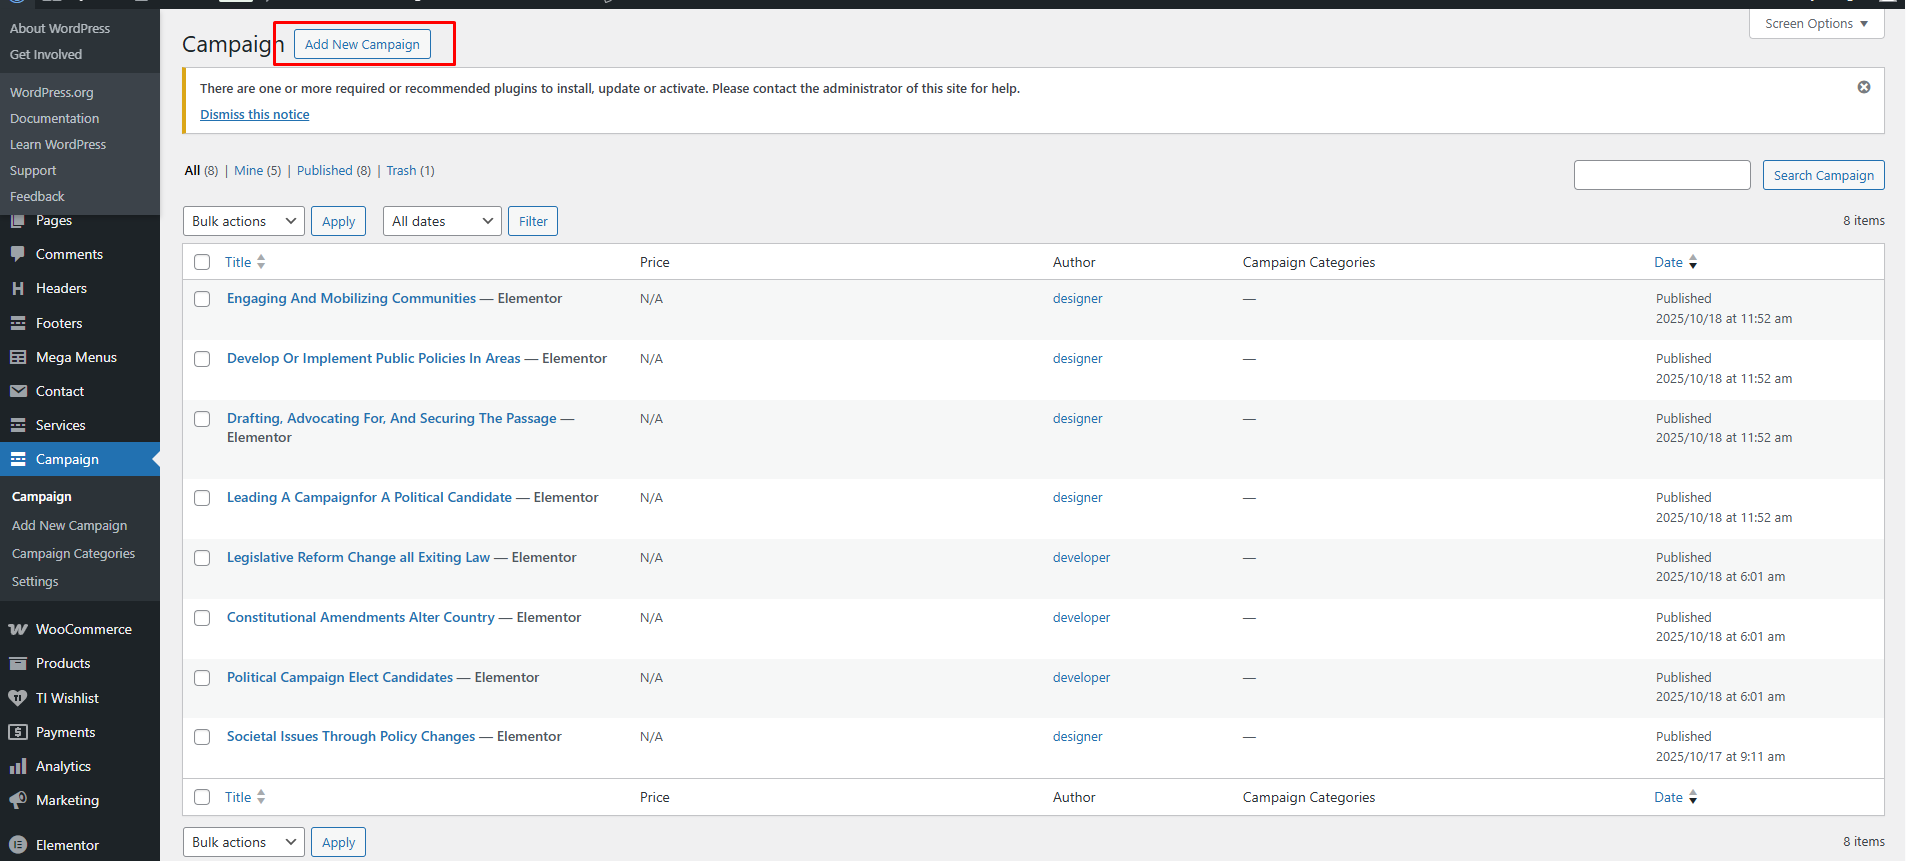
Use this section to add and configure a new service item on your website.
Campaign Settings
Campaign Icon
Upload or select an icon that visually represents the campaign.
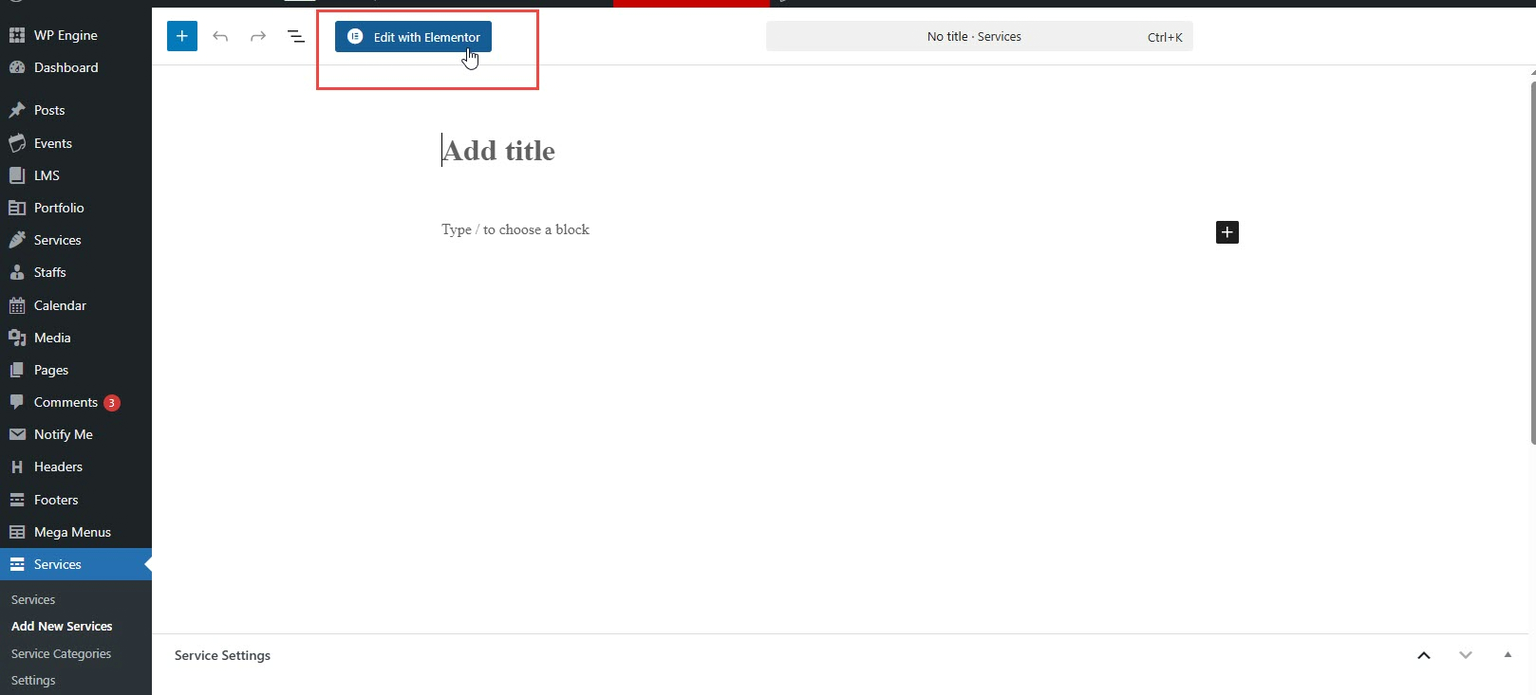
Edit with Elementor (Visual Editor)
To visually design your service page using drag-and-drop:
After saving the service as a Draft or Publishing it,
Click the “Edit with Elementor” button at the top of the page.
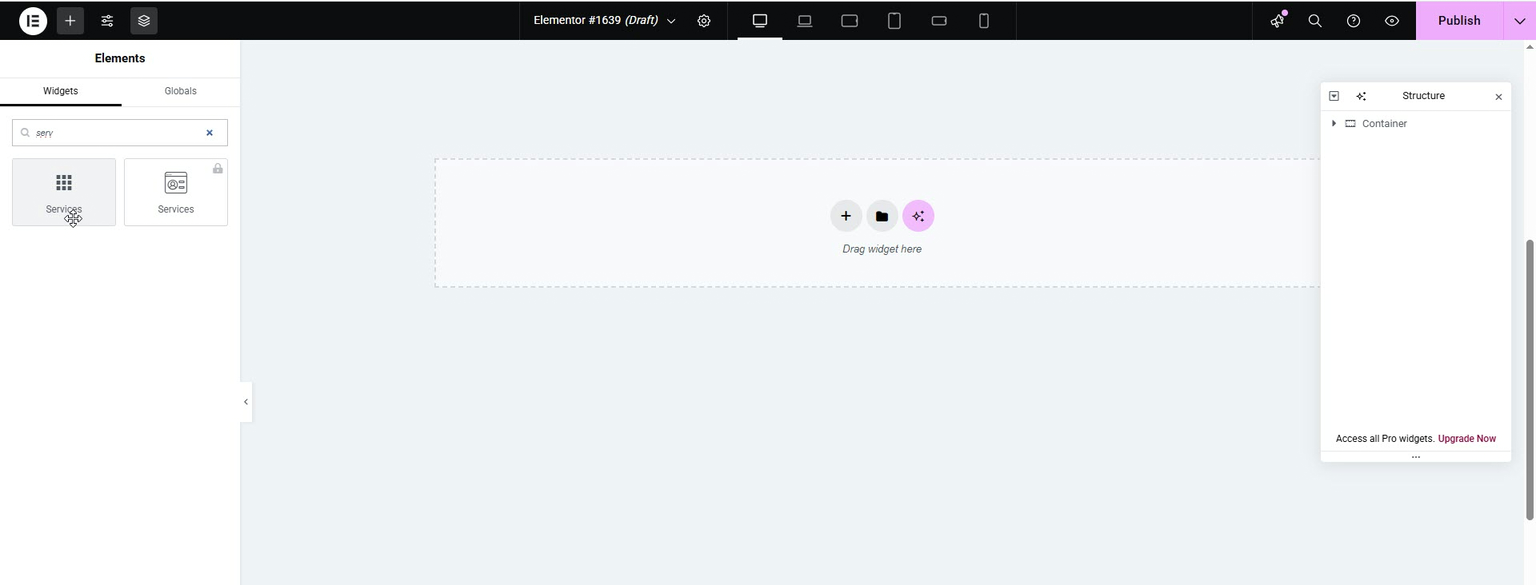
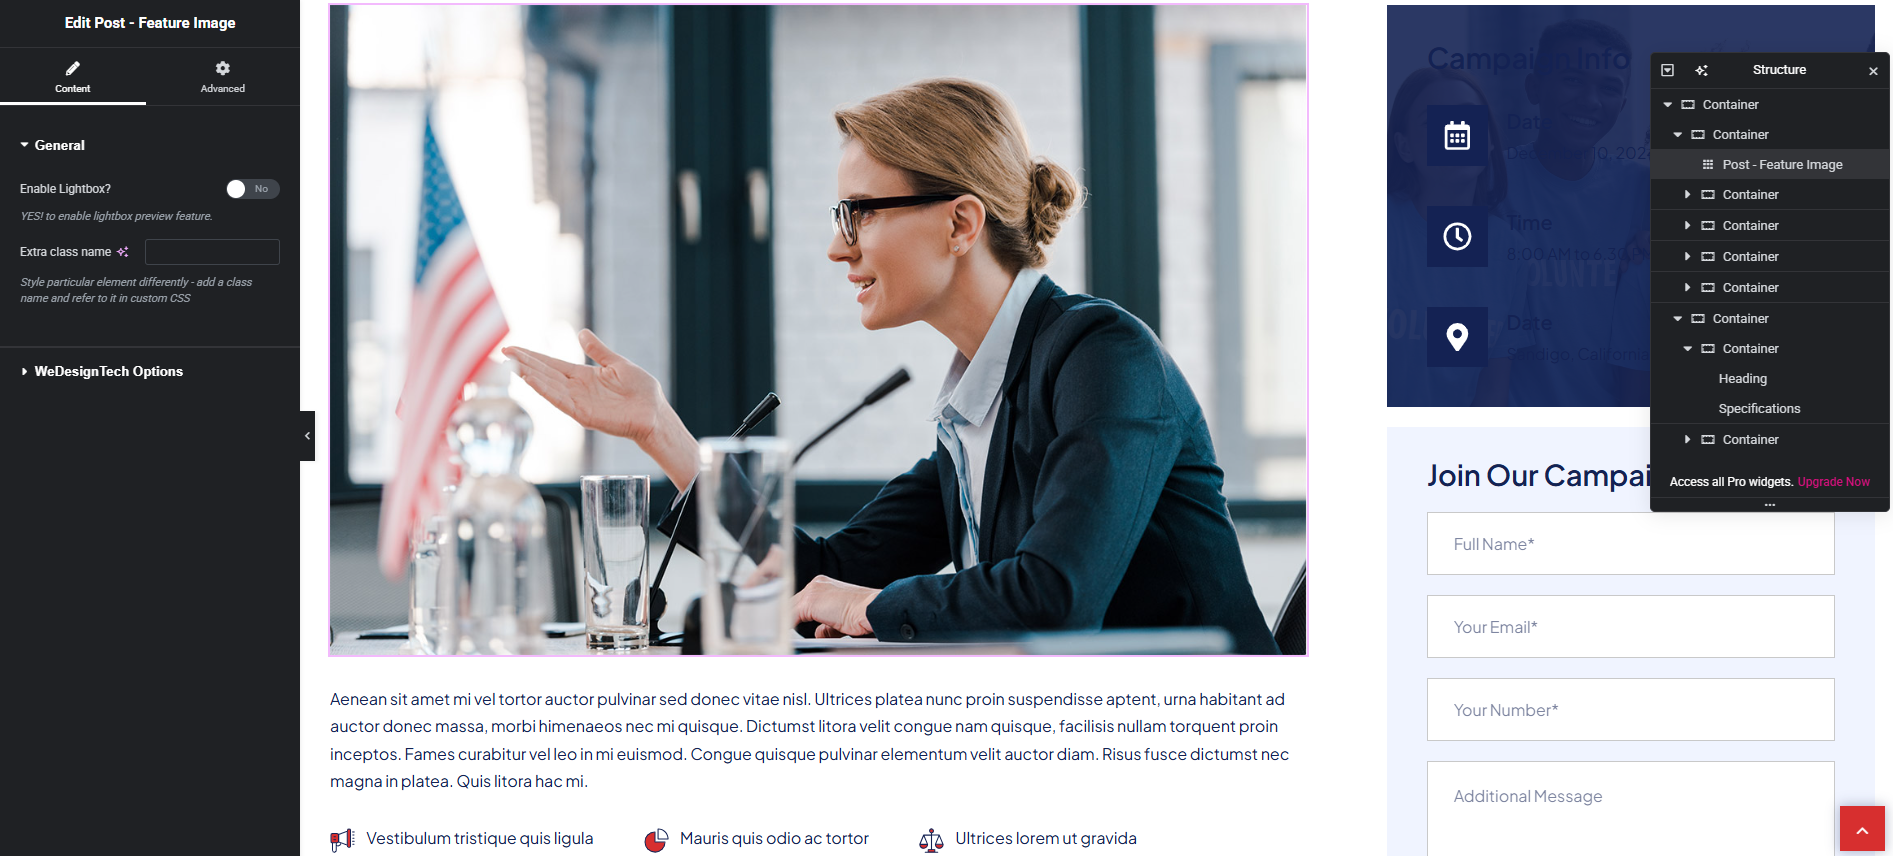
Use Elementor widgets to customize the layout, add images, text, icons, and more.
Click Update once you are done designing the campaign page.
While using Elementor, you may find a custom “Add Campaign” widget provided by the theme. This widget allows dynamic display of campaign.
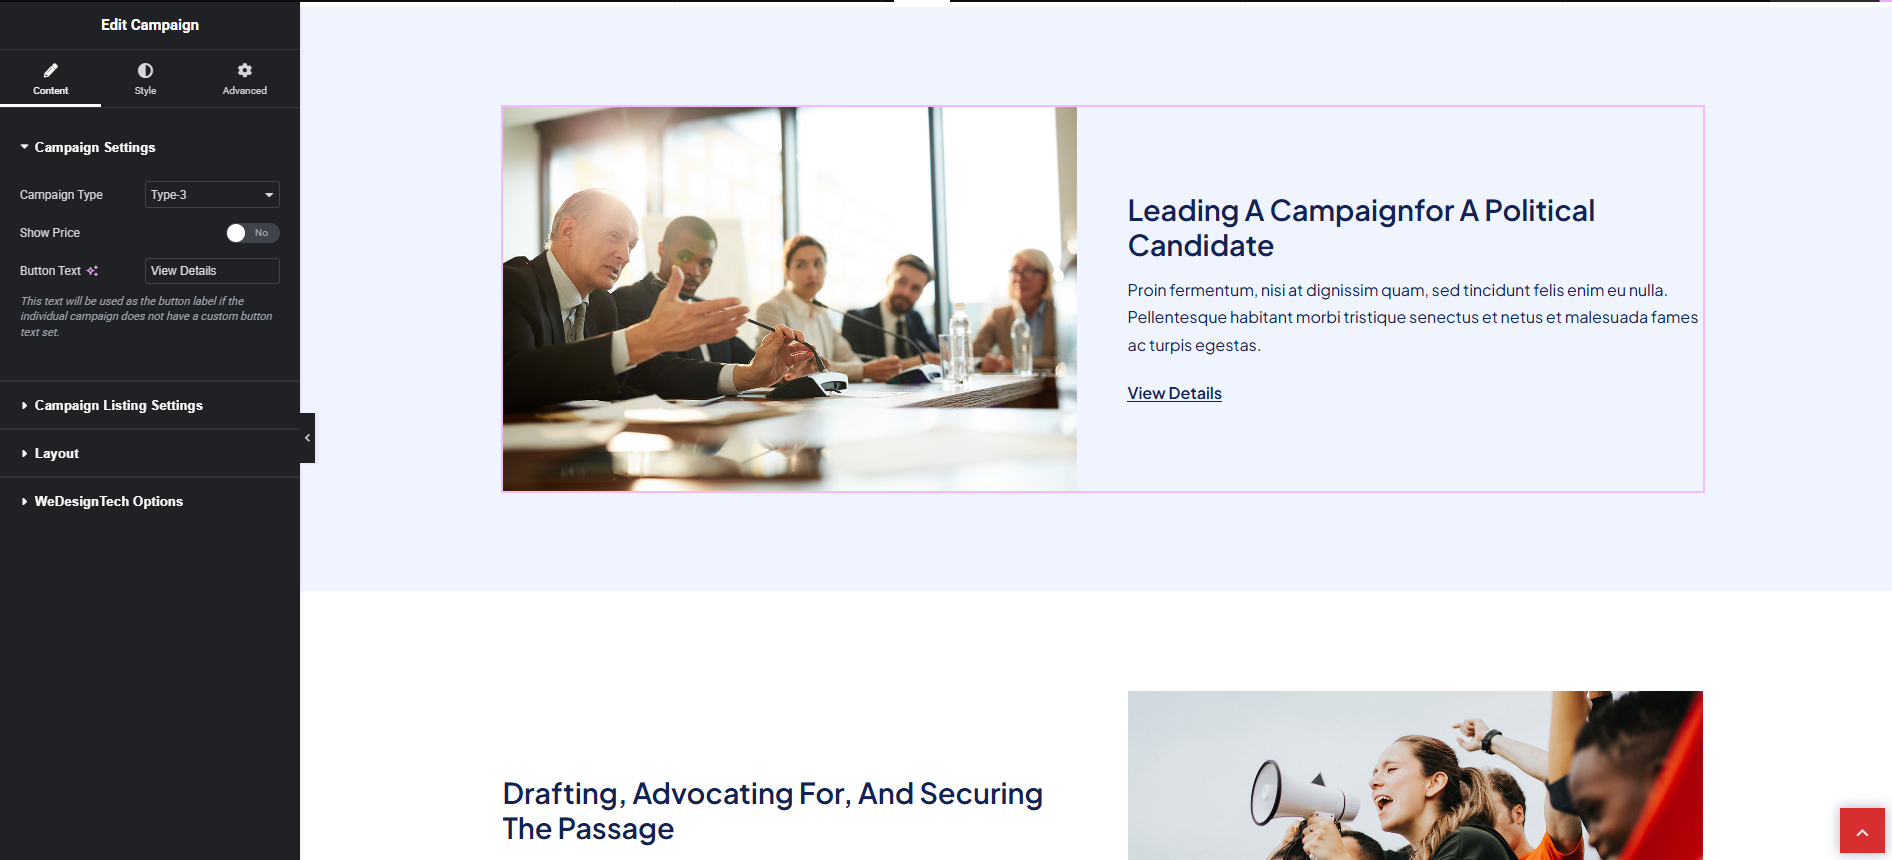
Add Campaign (via Elementor Widget)
Widget Settings
Campaign Type
Choose the style or layout type for the campaign (e.g., Type 1, Type 2 and etc ).
Show Price
Enable or disable price visibility in the layout.
Button Text
Customize the CTA button text (e.g., “Book Now”, “Learn More”).
Campaign Listing Settings
These settings control how campaign is queried and displayed on the front end:
Query Campaign By
Choose how to load campaign:
- From Category
- By Specific IDs
- All Campaign
Campaign Count
Set the number of campaign to display (e.g., 3, 6, 9).
Pagination
Enable pagination to allow browsing through multiple pages of campaign.
Saving the Campaign
Once all the details are filled in:
Review the information.
Click the "Publish" or "Update" button to save your new campaign.